
How To: Add social channels to your blogger profile & associate them to a site
Once you've added your website to your profile the next step is to add your social media and associate each channel to your site. Read on to learn how.
After adding a website, adding your social media channels is the next important step to completing your Get Blogged profile. Many brands look for bloggers with good social media followings when hiring bloggers for assignments, so it's worth taking a couple of minutes to add Facebook, Instagram and/or Twitter to your profile!
Adding your social media channels to your profile is a two-step process; first, you add each social media channel to your profile and second, you associate each channel with the corresponding website so that when you submit a pitch for an assignment on our marketplace the brand can automatically see how many followers each site has on social media.
- Log into your Get Blogged Account. Click on your avatar in the top right-hand corner of the screen.
2. Click on the 'your profile' option on the menu.
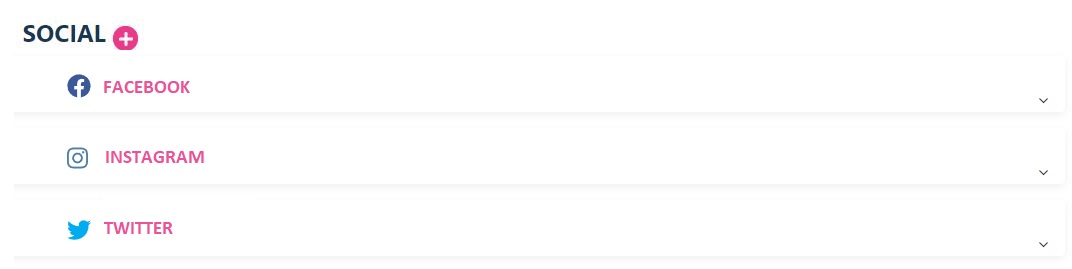
3. Scroll down your profile page until you find the ‘social’ section and click the pink + symbol next to ‘social’.

4. Click on the blue buttons and follow the instructions to connect to Facebook, Instagram and Twitter. Then click save.
Associate social channels to a site
Now you have added your social channels to your account, next you need to associate them to your site so that your social metrics appear in any pitches you submit for marketplace assignments.
- Scroll down your profile to the 'social' section. You should now see your social media channels appearing here. Click the little downwards pointing arrow parallel to your social channel.
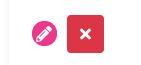
2. Click the pink pencil icon that appears beneath your social channel details. Please note, the red cross button deletes a social channel.
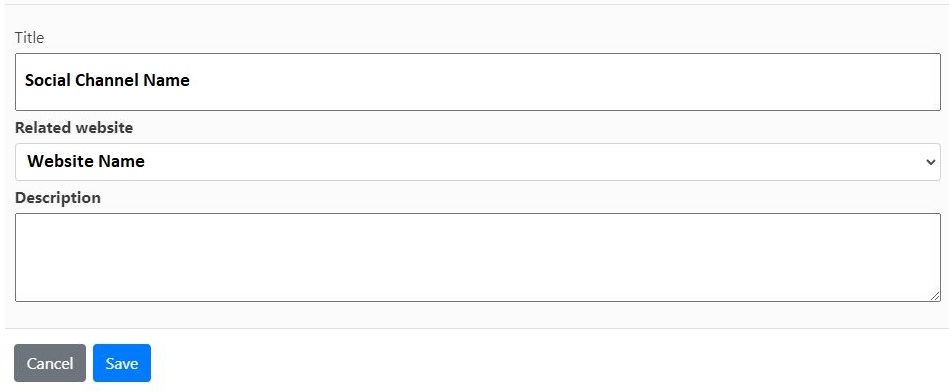
3. You will see your social channel name and your website name appear. If you have more than 1 website on your profile you will need to click on the dropdown menu and select the website which matches the social channel you are editing. Once the correct website has been selected click save. Repeat this with each social channel.
If you return to your profile you should now see the social channel sitting beneath your website on your profile, rather than sitting under the 'social' section.
Please find an instructional video below for extra help.